How to Create a Survey on Your Appzi Portal
Appzi makes it easy to create a survey from templates or from scratch. Follow the steps below to get started.
CREATE A SURVEY
To create a survey, click on the New Survey button on your profile page. You can always use one of the pre-made templates from our library or start from scratch.
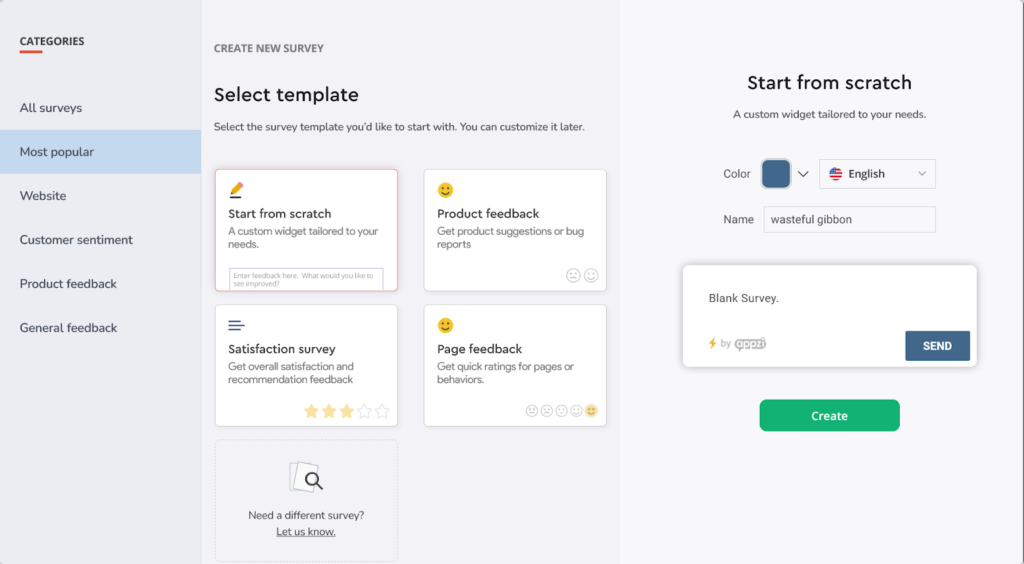
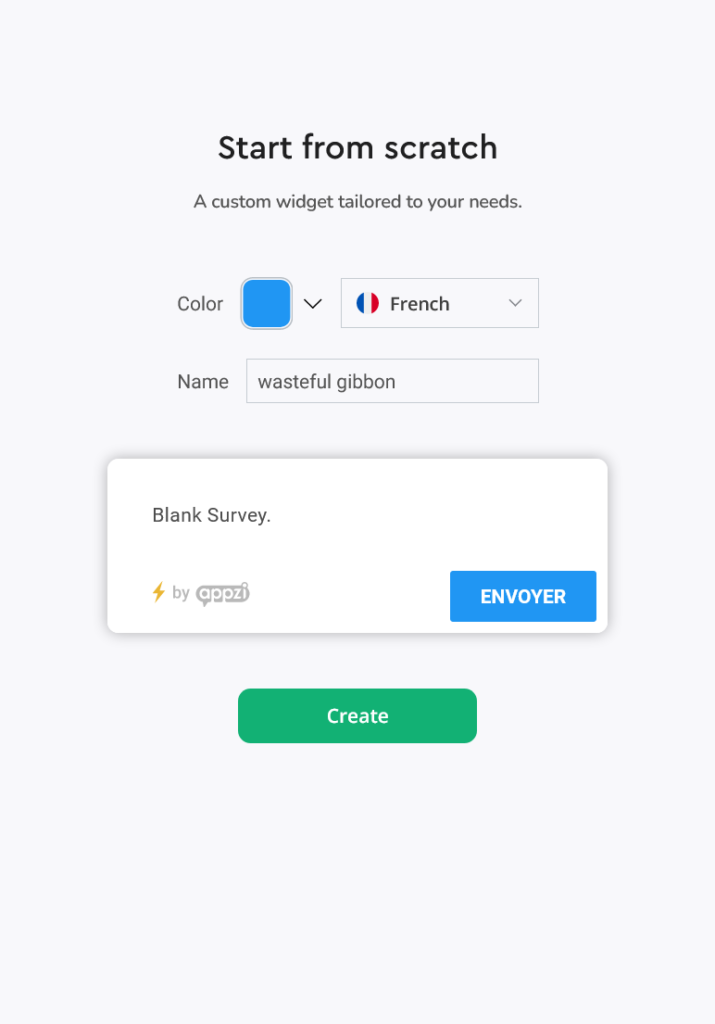
START FROM SCRATCH
Choose your widget’s language and color (no worries if you can’t decide yet, this can be adjusted later). Alas, name your survey and click Create.
Set up Survey Steps
Click on the Add Header button to customize your widget’s header. You can adjust the header’s color, size, behavior and even upload your logo on this page.
To do so, click on the logo icon and configure it according to your preferences in the second part of your screen.
Once the header is added and adjusted to your liking. You can start to add new questions. To do so, click on the Add new question or item button and choose the question type** you need.
Question types:
- Short text – for short answers such as name or user’s organization;
- Long text – for multiline replies, when a description is required;
- Email – to ask for the email address;
- Rating – a 1 to 5 rating scale, where you can choose between various shapes;
- Dropdown – provide a dropdown list of options to pick from;
- Multiple choice – provide your audience with a list of bullet points or squares to pick from;
- Legal – for including your own terms and conditions (make sure you delete the # and add your own hyperlink);
- Satisfaction – provide a list of options that reflect the level of satisfaction of the users through a choice of emojis.
Survey Structure:
- Page Break – to create a new page or create a page break;
- Thank you page – the last page of your survey;
- Statement – to emphasize some important information or include links
- Header – your widget’s header; can be added just once.
Design your survey
- Design – choose your preferred design style: Appzi, Material, Fluent or Flat;
- Padding – you can choose the amount of padding surrounding your widget;
- Font – choose between 12 offered fonts;
- Theme – choose between accented and light themes;
- Primary color – the color that will primarily show up on your widget;
- Secondary color – also the color of buttons and smaller things in your widget.
Survey Settings
In this menu, you can name your newly created widget and choose if you want to collect screenshots and/or locations of the received feedback.
On top of that, on this page, you can find the link to Appzi API or choose to delete your widget altogether.
TRIGGER
Once you are done with the creation of the widget, you can go ahead and set up the specific triggers for it.
On the trigger page, you will find the button configuration, survey position, and the rules that need to be set up.

Once you’ve chosen your button type, you can go ahead and either click on the “Preview” button or choose from the dropdown the location of the button.
Text – The text shown to your users, you can adjust it, so it looks more like a call to action and motivates them to fill in the survey.
Color and font can be adjusted, or just kept the same, that was bullet points used inside the survey.
Corner radius and offset, are the two fields that will help adjust the position of the widget button on the page.
Once the button is configured, you can go ahead and adjust your survey position and set up your preferred rules.
Congratulations! Your survey is up and ready to go. Now, you can post your survey. To do so, please follow the instructions from the Rules section.
Now that you are all set, you can go ahead and connect Slack and/or Trello, to receive a copy of the feedback in there, on top of the email feedback you’ll start receiving soon.